X


Ableton Live Tutorial
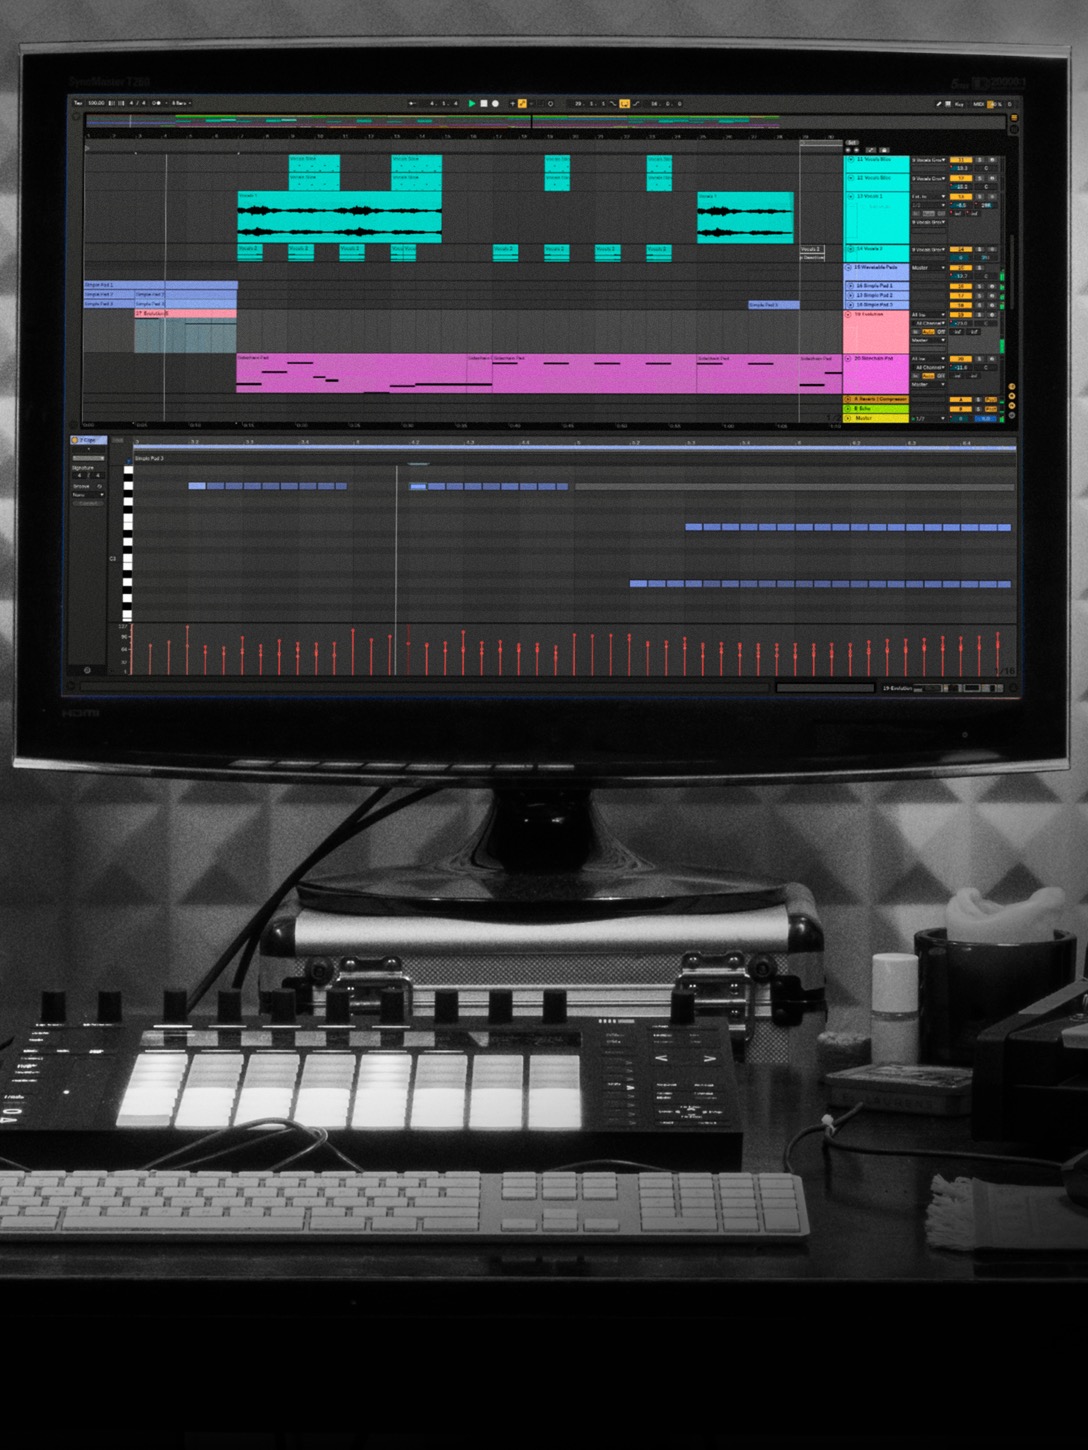
Ableton Live: Creating a Track from Scratch
29 Videos : 2hr 54min 56sec
Adam Pollard aka Multiplier brings you an in-depth video series all about creating a track from scratch with Ableton Live! Shown in version 10 but applicable to other versions and DAWs, see how to make a modern day track starting with just the kick drum, all the way to mastering and...
Author: Adam Pollard aka Multiplier
$15/month
- Site-Wide Access while Subscribed
- New Content Weekly
- 3100+ Hours of Video
- 2000+ Digital Books
$ 35
- Purchase Only this Product
- Download After Purchase
- Access this Product Online Too
- Own it Forever
*Tax/VAT Calculated at Checkout
- Contents 29